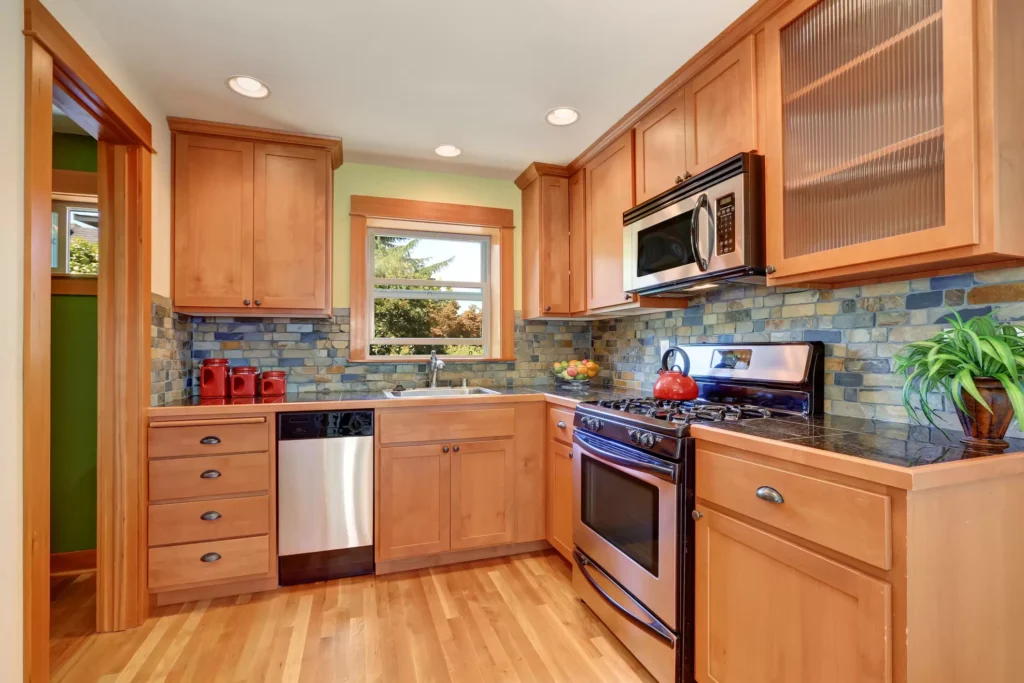
Painting kitchen cabinets without sanding is a lifesaver for anyone who wants to renovate their kitchen without hassle. It is well advised that sanding is done to give a smooth surface to the furniture, however, this is not always possible, especially when using the right products and methods.
If you follow these steps, you will not have to sand the old finish, and the new one will be just as professional, tough, and refreshing for your kitchen. Whether you are painting your kitchen cabinets for the first time or simply giving them a little update, read on to learn how to paint the cabinets without sanding.
Before You Begin, You Should Evaluate Your Cabinets
Before you begin painting your cabinets, determine if they are fit for the no-sanding method. If the cabinets have paint blushing, chalking, peeling, or deep scratches, or are very glossy, sanding may be necessary to help the paint stick to the surface. Cabinets that have extensive damage or those that are made of materials such as laminates may also need some extra work to make them smooth and give a long-lasting finish.
Nonetheless, if your cabinets are in relatively good shape with a plain, matte finish, you do not have to sand them. Also, furniture elements like cabinets that have a raw, unvarnished, or smooth natural finish do not need sanding before painting.
List of Materials and Tools That Are Required
It’s important to plan all the work and gather all the necessary tools and materials before you start painting your cabinets. Here’s a list to get you started:
- 2 ½ inch angled brushes – useful for applying paint near edges and corners.
- Sealing primer used for cabinets – This will ensure the paint sticks better, especially where the surface is a bit slippery or shiny.
- Clean rags – To use when cleaning up any dirt, or wiping the surface among other uses.
- Surface deglosser or liquid sand – A chemical solution that works as an abrasive to dull high gloss to make it ready for painting.
- Drop cloths – save your floors and objects around from paint splashes.
- TSP (trisodium phosphate – This is used to degrease your cabinet before the painting process begins.
- Varnish/ Finish – This paint should be of high quality to give an upper hand to the satin or semi-gloss cabinets.
- Microfiber sponges or Mr. Clean Magic Erasers – These are perfect for effectively cleaning surfaces without leaving lint or debris.
- Paint trays – These facilitate the right application of the paint and make it easy to load.
- Painter’s tape – It is used to cover the hardware or trim that you do not wish to paint.
- Optional finish – Adds another layer of protection to the floor and a seal to the color, useful in areas that are heavily utilized.
- 4-6 inch rollers – Best for rolling a large flat area, they are ideal because they cover a large area in a short time.
How to Prepare Your Cabinets for Painting

Empty your countertops and get rid of any items in your cupboard. Remove the cabinet doors, drawers, knobs/ handles, and screws, and make sure you label each part correctly for easy identification when fixing. Tarp countertops, appliances, and floors since you will be painting in that area. Lastly, rinse everything to wash off grease, dirt, and food particles from the surfaces.
Clean cabinet surfaces

Begin by washing all cabinet surfaces with a grease removing soap or by using a solution of vinegar with water. Make sure to focus the cleaner on the area around the stove and other areas that are hot and have a lot of grease. For instance, to eliminate any remaining stains, one should try to use a microfiber sponge or Magic Eraser. After washing, ensure you wash off the interiors with water and wait for the water to dry before continuing.
Use a Deglosser for Prep
Before painting the cabinets, use a deglosser or liquid sandpaper, according to the manufacturer’s directions. This step saves a lot of time than having to sand the surface while at the same time helping the paint to adhere much more. Always wear gloves, and the room should be well-ventilated. After that, gently wait until the cabinet gets dry before proceeding.
Apply Bonding Primer

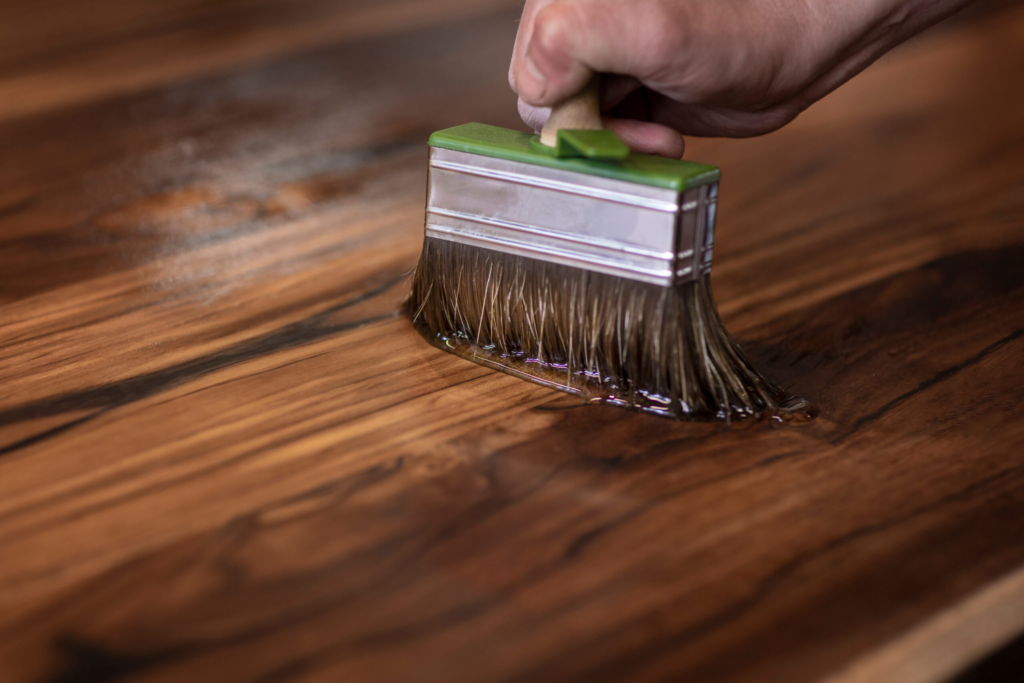
Using a 2 1/2-inch angled brush or small roller, apply a bonding primer, which is used for cabinets. Always try to apply the putty in the direction of the wood grain. You should wet the area with a damp cloth if the putty starts to dry before you can spread it properly. Allow the primer to dry in accordance with the manufacturer’s directions, normally, it takes about two hours.
Apply Paint in Thin, Even Coats

Start applying paint on your cabinets, keeping a steady hand and painting uniformly, to ensure that you apply a thin coat of paint. The second coat should be applied on the wall after the first coat has dried completely. To reduce brush marks, one should use a good brush or a foam roller. Some paint colors may require another application, so it would be better if you prepare to apply at least two or three coats of paint.
If you have inlays on your cabinet doors, paint those sections first using a brush only on the detailed areas. After the inlays have been covered, you can then paint the larger flat areas using a mohair roller or an extra large paintbrush.
This way, you can dare to clean the nooks and crannies and do them without much interference with your work, thereby leaving no rough surfaces that may require you to come back and do them again.
Apply a High-Performance Topcoat for Lasting Durability

After your paint has thoroughly dried (it usually takes a few hours, depending on the type of paint, but this one dries faster than most), you are ready for the next step: applying the General Finishes High-Performance Top Coat. It is advisable to apply three coats of the topcoat as suggested above. Oh, this step takes a very short time, so don’t worry about that. The topcoat acts to provide an extra layer to your paint and thus offers your walls a very hard and long-lasting layer that can resist normal wear and tear.
Rehang Doors, Replace Drawers, and Add Hardware
When all is dry and properly set, it is time to reattach the cabinet doors and replace the drawers. Although this might sound simple, it sometimes requires several clumsy movements, therefore, it will be much easier to do it with the help of a partner.
Last but not least, complete the transformation with some new fashionable handles – knobs and pulls do wonders to the look of the kitchen.
And that’s how you get a brand-new kitchen! The best part? You never had to clear a single dish from your cabinets, and you could maintain the use of your kitchen as you created your plan gradually. You are finished, and it wasn’t as tough as you thought, right?
Select the Correct Paint for a Level Surface
However, the drying properties of the paint used in painting kitchen cabinets are very important. Satin enamel paint has a better shape when wet than normal latex or oil paints, which may form strings when applied on a vertical surface. This technique means that it flows on evenly and dries at the right pace; it self-levels where it will minimize brush strokes.
The secret is to get a paint that dries as slowly as to level the surface irregularities while at the same time not taking very long to run or to drip. The self-leveling is such a boon that it makes the process much easier. However, ensure that the paint is evenly put on the surfaces, especially on the edges and corners, as paint build-up may cause dripping.
This paint also has the advantage of re-compatibility; which is, once the first layer is dried, you can apply another layer and all your coats (two to three) can be done in a day. That is, if you are highly motivated to seek out and use these resources.
What Is Cabinet Refacing?
Cabinet refacing involves the replacement of the cabinet doors and drawer fronts plus attaching a new veneer on the cabinet cases. This is perfect if your cabinet boxes are solid, but what you want is a new look for your kitchen. It also helps to make upgrades since refacing entails replacing old hardware with new ones.
What if there is no sanding of cabinets before painting?
Not sanding can make the paint not stick well on the surface and may end up chipping off. It may also look like paint has been applied haphazardly and may fade quickly than it should. These make it possible to prepare the surface for painting without using conventional sanding in the process.
How many gallons of paint do you require to paint kitchen cabinets?
One gallon of paint is enough for 50 – 75 sq. ft. of cabinet surface on average. As a rule, the average kitchen will need 2–3 coats of paint, which means that you will need 1–2 gallons of paint, depending on the size of the cabinets and the paint’s efficiency.
What are the steps for painting cabinets for a smooth finish?
The use of brushes or rollers ought to be avoided if one wants to achieve a professional and smooth appearance of the surface in question; instead, a sprayer must be used. Preparation of the surface is paramount—wash and degloss or sand and use a good quality primer. This will help the paint to stick well to the surface and, at the same time, make the paint job smooth and perfect.


