Peel-and-stick wallpaper is a very affordable way to change the look of any room in the house. The fact that it has a self-adhesive backing means that it can be easily installed and thus can immediately alter the feel of a place. But to get the desired smooth, bubble-free surface to the patches, there is much more than just peeling and sticking. Various methods and the correct choice of materials are critical to success and long-term performance. These instructions are accompanied by recommendations, which will make it possible to install the panels without a hitch and create a stylish, comfortable look for the walls.
Materials required for installation of peel-and-stick wallpapers
Tools:
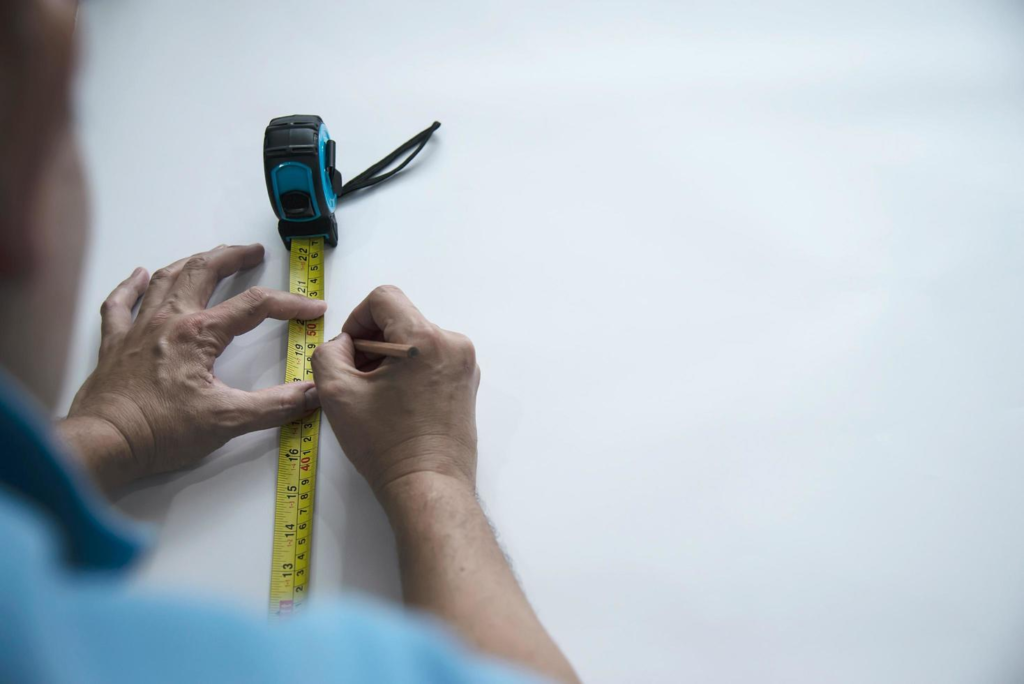
Tape Measure: For measuring correctly the width and heights of the walls.
Pencil: To measure and facilitate the positioning of objects on the surface.
Steel Ruler/Straight Edge: For cutting purposes especially when drawing straight lines on a material.
Plastic Smoothing Tool: To remove air bubbles on the surface of the wallpaper.
Utility Knife: For cutting off the ends of the paper.
Ladder: Used when reaching the higher grounds or on tall walls for instance.
Screwdriver: To unscrew outlet covers and any other object that may block the wall.
Materials:
Peel-and-stick or Removable Wallpaper: The major material used to cover the wall.
Cleaning Solution: A less severe cleaner to condition the wall surface area.
Cloth or Sponge: For cleaning the wall surface before applying the solution.
Step 1: How to Calculate Wallpaper Requirements

Here one of the most important rules is to accurately measure the size of the room and buy enough wallpaper. To know how many wallpapers are required, measure the area of the wall by the height multiplied by the width. Then, divide this by the square footage of one roll that can be found on the product description page.
For patterned wallpaper, an extra 10% for small patterns, and for large patterns an extra 20% will be added because material will be cut to match the patterns.
If returns are free, then order 1-2 additional rolls more than your calculations because you are bound to make mistakes, or your client will underestimate their need for rolls.
Step 2: Prepare the Wall Surface

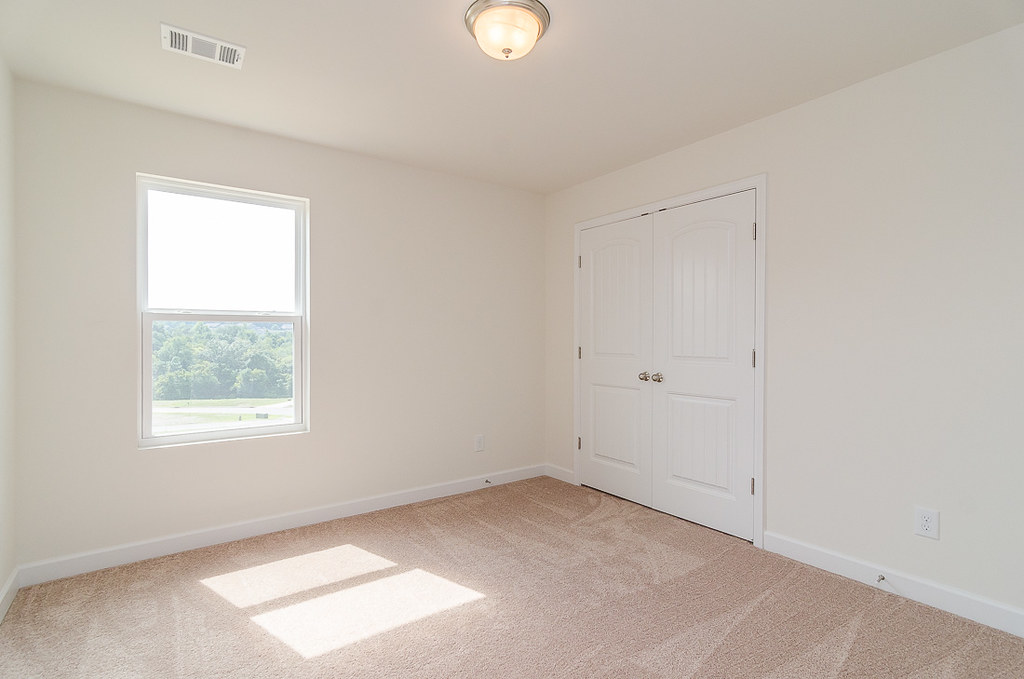
As we know, the preparation of walls is one of the most important determinant factors in the overall effect of the wallpaper. First of all, unscrew the faceplates of electrical outlets and switches, to place the wallpaper correctly around those recesses.
After that, wipe the walls with a mild cleaning solution and a sponge or a cloth to remove dirt. This will guarantee a proper adhesive bond to the wallpaper. Wait until the walls are dry before proceeding to apply the next coat or paint the wall.
If the walls have been painted you need to wait for at least 72 hours before applying the peel-and-stick wallpaper so that the paint dries up completely.
Step 3: Create a Straight Guideline
The final preparation step is to make a straight line before the start of the peel-and-stick wallpaper application, so that, the wallpaper will be in a straight line throughout the process.
First, learn how to measure the width of the wallpaper it is usually 20 1/2 inches wide. Starting from the left end of the room (or an arbitrary point in the middle of the wall), draw this measurement on the wall. Stand a ruler or a level in such a way that they are upright from the ground to the roof and ensure that you are drawing a perpendicular line. This vertical guideline will become your guide for the entire installation process of the new equipment.
Do not use the ceiling as a reference point because it might not be a flat surface. This vertical line will be highly visible and will assist in making certain that the wallpaper is hung straight and that the correct alignment was established with the very first strip of the wallpaper. If the starting point is in the middle of the wall it may also be useful to draw another line parallel to the first to ensure that the measurement is accurate.
Step 4: Apply the Wallpaper
To make it easier to apply the peel-and-stick wallpaper, begin by cutting strips of the wallpaper to the height of the wall, plus an additional one or two inches at the top.
Peel off about 12 inches of the backing of the wallpaper and then adjust the top of the strip so that it is right on the vertical line you drew earlier. Trim the ceiling slightly to avoid gaps or uneven edges in the room or the hall where it is installed.
Finally, smooth the wallpaper onto the wall pressing it down gently while slowly pulling the backing paper off from top to bottom. To do this one should use a plastic smoothing tool to try and smoothen the wallpaper to avoid the formation of bubbles.
Do not pull the wallpaper too vigorously as this will lead to stretching or ripping of the material. Keep on using the wallpaper strip to the baseboard then cut the excess wallpaper strip at the bottom to achieve a neat and even finish.
Step 5: Additional Strips and Align Patterns
Every area of the first strip of peel-and-stick wallpaper becomes your guide to the subsequent areas of the wall. When applying the next strip make sure that the patterns or designs that you have used match well so that they do not interfere with the neatness of the strips.
Take a small portion of the backing off the following strip and start to stick the strip down, ensuring that it meets with the first strip, slightly overlapping it (about a quarter of an inch). When reaching a section with the wallpaper pulled to the wall, use a plastic smoothing tool to pop out any bubbles, whilst also making sure that the pattern used on the paper is aligned properly.
In every case of getting to the area where the wallpaper meets a door frame, a window frame, an electrical outlet, or a light switch, cut the wallpaper to fit around it. Pile one strip on top of the other in this fashion until the whole wall is covered and the entire room is ready.
Step 6: Smooth and Trim Wallpaper

Sometimes the application of all the wallpaper strips might have some uneven edges, overlapping, or bubbles of trapped air. To make everything even and to remove the remaining air bubbles, use a plastic smoothing tool while glazing the wallpaper onto the wall.
Third, with a utility knife, cut along the ceiling, the baseboards, or around any wall fixtures or irregularities like doors, windows, or sockets. Cut correctly to make sure that the wallpaper touches the wall correctly, so you avoid having seams and blunt the edges that may hinder the functioning of outlets and other fixtures on the wall. This final step will make the room look neat and polished hence the best way to end the process.
Step 7: Remove Air Bubbles
If there are still air bubbles once the wallpaper has been applied, use the sharp end of the utility knife or a pin and poke a hole in the middle of the bubble. Squeeze the bubble to let air out and then use a plastic scraper to level the surface of the wallpaper to enhance its look.
How long does peelable wallpaper last on the walls?
Self-adhesive wallpaper can last for 3 to 5 years and its durability depends on such factors as walls’ conditions, the amount of light, and correct installation. If the wallpaper is well maintained and protected from the effects of moisture or heat, it is likely to last even longer.
Can I Use Peel and Stick Wallpaper on Any Type of Wall?
Peel-and-stick wallpaper is perfect to be used on smooth, clean, and dry surfaces of the walls. It is suitable for use on newly painted; dry smooth surfaces like the new or freshly painted gypsum board or any other nonporous surface. Do not apply it on rough surfaces, bumpy surfaces, or surfaces with blistering paints because the adhesive will not stick. Further, rooms with high humidity such as the bathroom can cause it to peel off earlier if not well-ventilated.
Is Peel and Stick Wallpaper Easy to Remove?
Yes, install peel-and-stick wallpaper for it is easy to remove and does not harm the wall, perfect for renters and people who love changing their walls often.
What Do I Do if My Peel-and-Stick Wallpaper Starts Falling Off?
If your wallpaper is pulling away from the wall you should first wash the wall to clear dust or even oil. Paste the wall again stick the wallpaper to the wall, and remove the bubbles with a plastic card. It is also important that the ambient temperature and humidity are not too high, as moisture will compromise the adhesive.


