Painting IKEA furniture can seem complicated at first because IKEA uses certain materials like MDF and laminate in furniture construction. The furniture is cheap and practical, but it lacks the character that so many people are looking for. But this is good news for those who like to do some DIY work as they can try to come up with more unique designs. IKEA furniture can be painted; it is possible to paint cabinets, tables, and whatever furniture that you need, with long-lasting results. While the surface can be challenging to work with, these few ideas can turn these pieces into unique accessories for any space.
What type of furniture can you paint?
IKEA furniture comes in two main materials: Laminate which is also referred to as melamine or particle board and pine. Not as many are made from pine anymore and the more common material is laminate, although both are used. IKEA’s website provides information on the product and it is from here that you can determine the material used in the production of your furniture. Specifically, this guide is devoted to the description of laminate furniture.
Materials and Tools for Painting Laminate Surfaces
Materials:
- Primer: Use a laminate-specific primer like BIN Zinsser for better adhesion.
- Sealer: Protects the painted surface from wear and moisture.
- Paint: Choose a durable paint suitable for high-traffic areas.
Tools:
- Small Paint Roller & Brush: For even coverage and detailed areas.
- Fine Grit Sanding Block & Sandpaper (P80, P220): Smooth the surface before painting.
- Tack Cloth: Removes dust after sanding.
- Paint Tray & Drop Cloth: Keeps work area clean.
- Painter’s Tape (Optional): Masks off areas for clean edges.
- Deglosser: Helps paint adhere by removing the laminate’s gloss.
- Power Sander: Speeds up sanding for large surfaces.
- Paint Sprayer or Foam Roller: For a smooth paint finish.
- Ear Protection & Mask: Protects from noise and dust.
Essential Preparation for Painting Laminate Furniture

It is therefore very crucial that proper preparation be done to achieve the right paint coverage that should last long. The inability to conduct this process properly may lead to a situation in which paint will not stick properly to the surface and will eventually begin to chip. It can take a good amount of time to do but it is very important if one wants to end up with a long-lasting and polished surface.
Disassemble the Furniture: Take outdoor, handles, drawers, and shelves. Staple each part and put screws in a small plastic bag for convenience in case of reassembling in the future.
Clean the Furniture: Wash the surface using solutions, sponge, or cloth to eliminate dirt, dust, and grease by washing the surface. Any surface irregularities are wiped clean to allow the paint to stick well to the surface.
Use a Deglosser: Use a deglosser to take off the shiny laminate finish so that the primer and paint stick well to the surface. This step is almost effortless and only takes a short amount of time. It is easy to use and safe for indoor application, with nearly no smell, although it is recommended to wear gloves on the hands.
Sanding IKEA Laminate Furniture for a Smooth Paint Finish
Sanding is particularly important as a pre-painting process on IKEA laminate furniture. If done, there will be a tendency for the paint to chip off or it will not stick well to the surface. Specifically, sanding is not required for wood furniture such as IKEA IVAR because the wood surface has a natural ability to easily soak the primer. But before painting the laminates, they need to be sanded so that the paint can be applied well.
Choose Your Sander: A suitable tool for this job is the orbital sander or a mouse sander. An orbital sander is ideal for covering a large surface area in a short amount of time while a mouse sander is ideal for those hard-to-reach edges and grooves as well as once-assembled furniture.
Sand with P80 Grit: Begin by sanding the whole surface using P80 grit sandpaper. There is no need to strip off the laminate, but the surface has to be scratched up enough for the primer to stick to.
Check the Surface: Wipe it over to the surface so that it can be roughened up. On high-gloss laminate, you should take a little longer to sand since gloss is always more difficult for paint to stick to.
Clean the Surface: Finally, sand and remove all the dust with a tack cloth or a baby wipe. What is left should cause clumping when the paint is applied, and to prime the surface, it should be clean.

Selecting the Right Primer for Laminate Furniture
The appropriate primer must be applied when painting laminate. Zinsser Bulls-Eye 123 is better for water-based and will work for most applications without having to sand too much. For densely used pieces, such as tabletops, a coat of shellac primer is applied to add to the protection. Make sure that the primer to be used is compatible with laminate and any other glossy floor. Painter’s tape can be employed to protect some regions that should not be primed or painted.
Picking the Appropriate Paint for IKEA Furniture
While painting IKEA furniture, interior latex paint or cabinet paint are good paint options since they are long-lasting. Sherwin Williams Urethane Trim Enamel is probably my favorite; it sticks well and has a nice, smooth feel to it. Cabinet paint is especially ideal for furniture since it encourages better adhesion thus minimizing chalking and increasing the finish’s enamel. Still, it is best to use cabinet paint but any leftover wall paint will do in a pinch. For a perfect finish, go for an eggshell or satin finish because matte will look and feel like chalk.
One particular product that should not be used, at least according to Annie Sloan, is chalk paint. While it was in vogue some years back, it is relatively easy to chip, as was discovered from a mirror frame job.
Painting IKEA Furniture
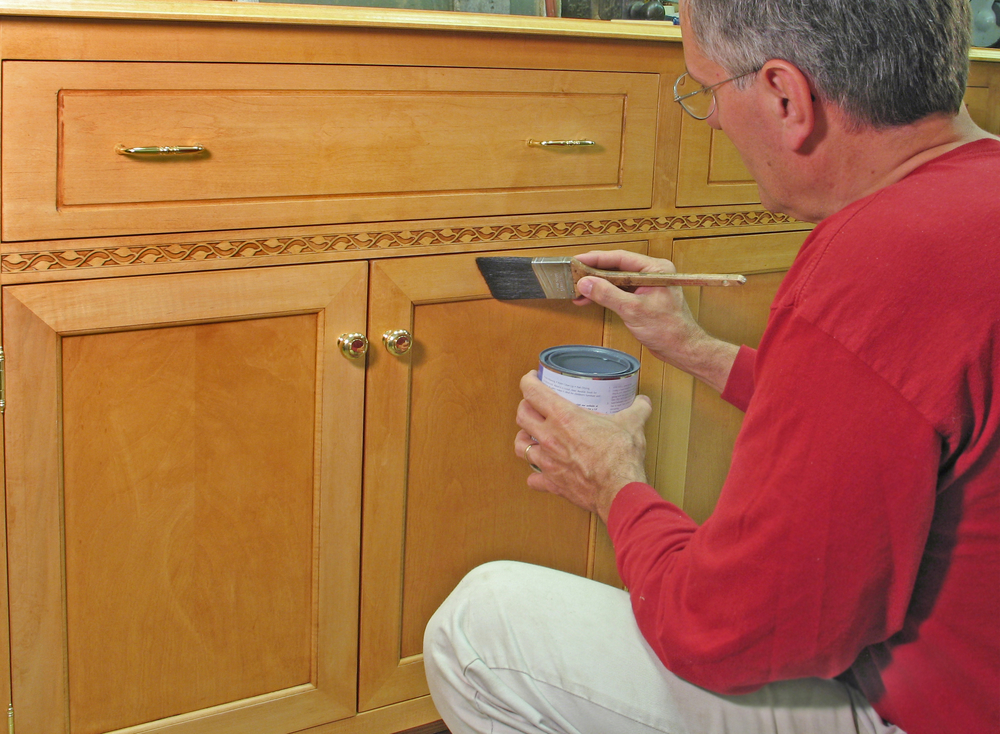
The best way to use your chosen paint is, to begin with the first coat of the paint with the same roller you used for the primer or a brush. The paint layer should be thin, it is ideal to use two thin layers than to use one thick layer for a perfect finish.
As soon as the first layer has slightly dried, apply the second layer, and remember the time intervals between layers as described in the guidelines for your paint.
Another choice is spray paint, but building up layers to achieve an even finish will be time-consuming.
Finally, applying a Protective Sealer

After the last layer of paint has fully dried, apply a clear coat which will provide a layer of protection. For furniture that will not be used and abused, you only need a clear acrylic sealer spray—just make sure that it matches your paint.
For areas that will get a lot of use like shelves, doors, or drawers it is better to use a more hard-wearing sealer such as Minwax Polycrylic. It is recommended to allow the furniture to dry and cure depending on the instructions on the sealer, or an extra day to be very safe. After a long time of complete curing process, you may be in a position to use your newly transformed IKEA furniture.
When painting laminate flooring do I have to sand the floor before painting it?
Although most modern primers can bond directly to the laminate, according to professional painter Jason Paris, the surface should be washed down using a degreaser or mild detergent before applying an adhesion primer.
But, sanding still has its advantages. This makes it possible to avoid such things as peel and chip on furniture that is frequently used as well as making dents and scratches look less raw.
Can I Paint IKEA Furniture Without Sanding?
Yes, using a shellac-based primer enables you to paint IKEA laminate furniture without sanding the furniture. It should be noted that sanding prior to priming will enhance adhesion, but it is not obligatory. A layer of fine-grit sandpaper can also help make further coats of paint smoother and more even, though intermediate sanding is unnecessary for a great project.


